‘
For my Make It Yourself Monday this week, I am very excited to show y’all how to make your old ratty jeans into a unique distressed masterpiece. I have been wanting to make my own pair of ripped jeans for a quite a while now. But, I am one of the most un-crafty people I know. I just have a knack for messing everything up and then getting too frustrated to finish. However, I was determined to make this pair of jeans work. Side note: I did get frustrated with this pair of jeans and I took a 8 month break. Yeah, I started this project August 2014. But I finished so let’s all have a round of applause for moi.
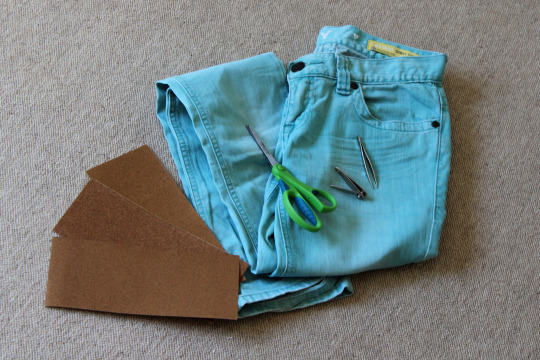
You’ll need:
- a pair of old jeans (please please please don’t use your fave pair. Or do, I’m not the boss of you.)
- scissors (sharp fabric ones work best but I used child-safe scissors so)
- tweezers (these are the most important part)
- nail clippers (these are optional but all the cool designers use it to distress their jeans)
- razor (I used my Schick lotion one which was a disaster)
- sand paper (a variety of grit (i don’t know if that’s the right word) is good to experiment)
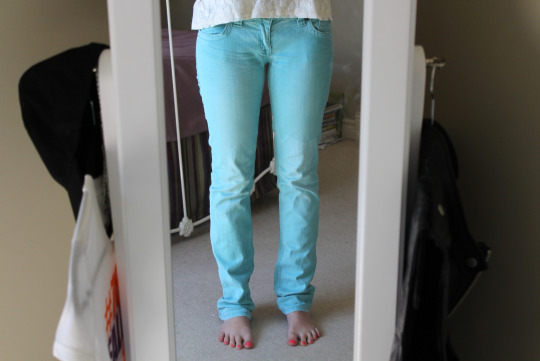
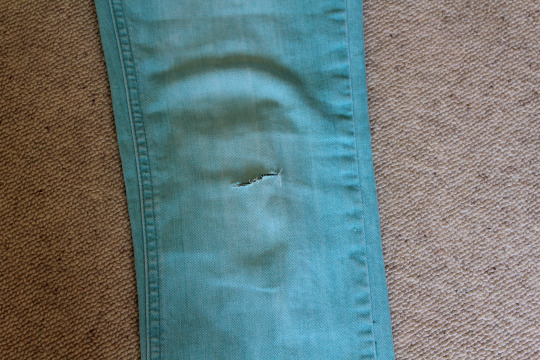
So, these were the jeans I started out with. They originated all the way back from when I was in grade 7, roughly 8 years ago. They are a bright turquoise pair from Billabong, but they’re probably the weirdest fitting jeans I have ever owned. They’re tight and baggy at the same time and way too long for me. Plus, I’m not sure if you can tell from the picture but they have a weird dye job dripping down the thigh so that’s pretty cute. Thus, I knew that I had nothing to lose if this project went awry and these jeans got ruined.
Step one:
Start with planning out exactly where you want your rips to go. I used a pair of pre-made distressed jeans to get inspiration from. Draw lines on you jeans with a pencil to mark where you want to cut slits. Once you have done that, you are ready to make your first cut!
Step two:
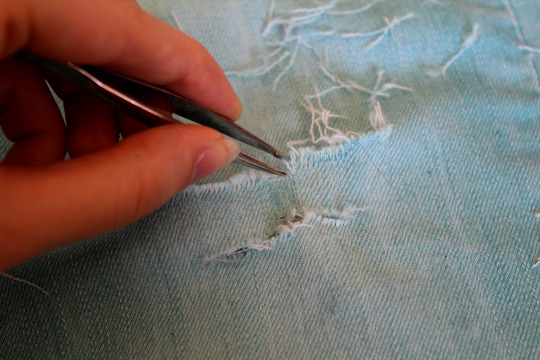
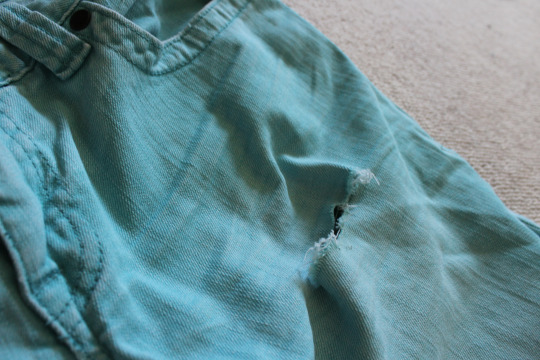
Cut 2 horizontal slits with your pair of scissors about a ½ to ¾ of an inch away from each other. Then, you can use tweezers to pull out the vertical fibers. Depending on the colour of the jeans you are distressing, this will most likely be the dark blue fibers. You want to leave the white threads intact.
Step three:
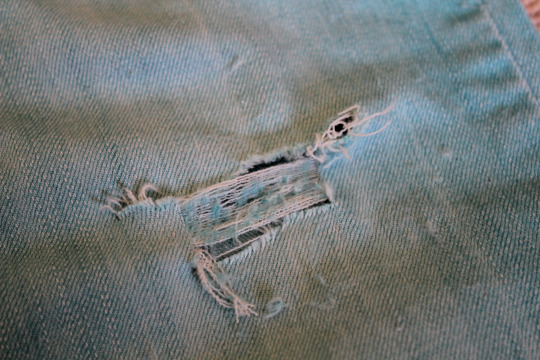
This whole process of pulling out the vertical blue threads will get quicker and easily as you go along and soon you will be left with a nice size rip. When you finish pulling out the vertical threads, use the sandpaper to rough up the edges a bit. Now, that you have got the hang of things, you can start to go crazy with the other distressing. Follow this process to make rips all over the pant legs.
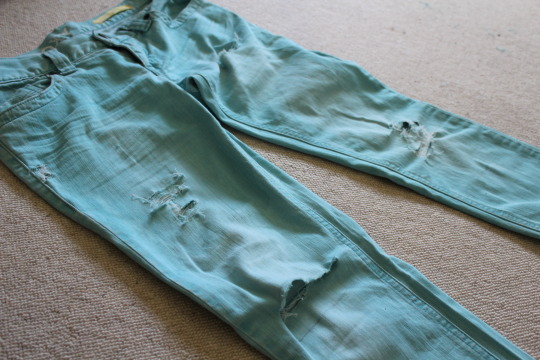
Step four:
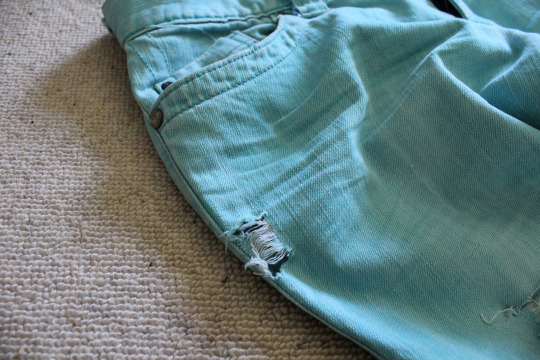
This is the part where you can be creative. I chose to place my rips on the thighs, knees, side hip, and don’t forget the back pocket! Experiment with the size and shape of your rips as well. And don’t be frustrated if a rip doesn’t go as planned. Toss your jeans in the wash and I promise you will like the end result!
Step five:
You can also use a razor and a nail clipper to make little tears and rough up the denim a little bit for some more subtle and natural distressing.
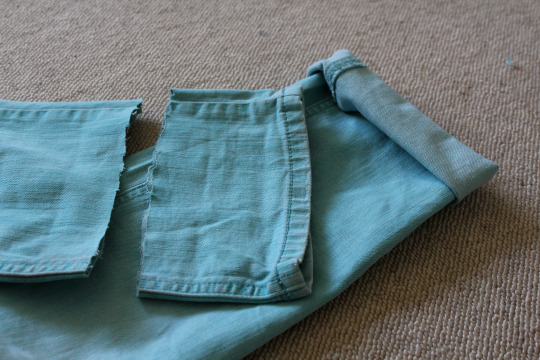
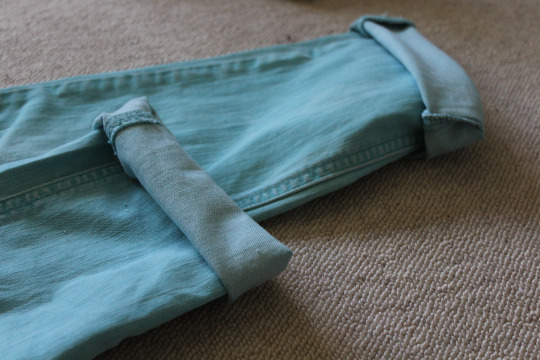
Step six:
Because these jeans were way too long, I decided to cuff them and make them into a sort of Boyfriend style. I cut off about five inches off the bottom and then cuffed the hems twice. Make sure the cuffs stay relatively thin so they look modern and relaxed.
Now, I’m sure you’re all anxiously awaiting to see what the finished product looks like and what these jeans look like on. But you’re gonna have to wait a little longer. I’ll do a whole outfit post featuring these jeans so get excited. Spoiler: they turned out pretty darn cute if I say so myself.
Are you going to try out this Make It Yourself Monday? Tweet me (@bettathanhannah) or Instagram me (@taylorlainee) pics if you do! I would love to see how yours turns out.