‘
There is a place in our mall in Edmonton that sells the best candy apples. They might be one of the most delicous things I have ever tasted. There is just one problem. They cost an outrageous $10 for just a single candy apple. As a broke college student, I can’t deal with that. For something so simple, seemingly just an apple and caramel, my friend and I thought we could make them for way less than $10. So that’s what we did. Plus, nothing says back to school like apples.
You will need:
- 6 apples
- 2 (9.5-ounce) bags soft caramels
- ¼ cup pulp-free orange juice
- 1 (4-ounce) bar white chocolate, chopped into ½-inch pieces
- ¼ cup cinnamon
- ¼ cup sugar
- 6 wooden skewers
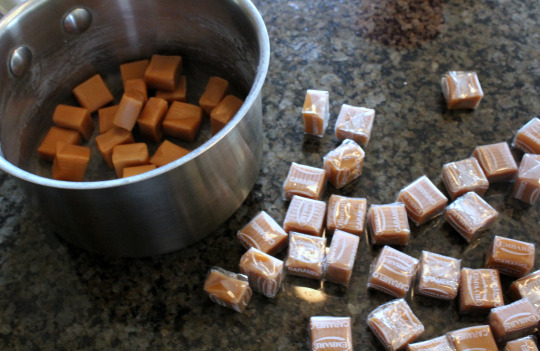
1. Start by unwrapping your caramels. You can probably buy these unwrapped but what would be the fun in that?
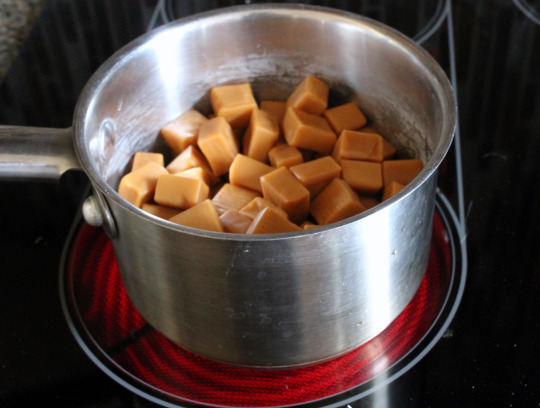
2. In a medium saucepan, heat the caramel candies over low heat, stirring occasionally.
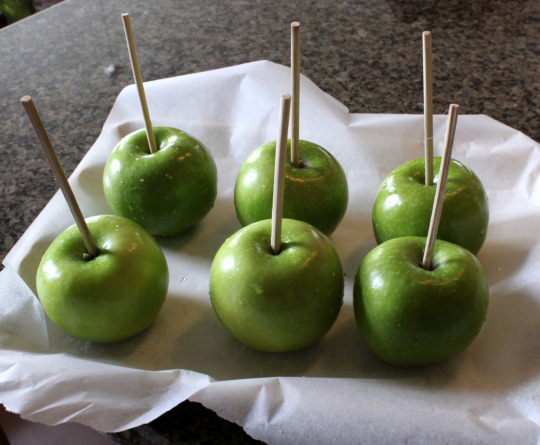
3. Poke the skewers into the apples. This was a lot easier than I thought it would be, thank goodness.

4. Add a ¼ cup of orange juice to the melted caramel mixture. Surprisingly, the orange juice is a really nice addition to the caramel. It cuts the sweetness.

5. Keep stirring the caramel mixture over low heat until it is smooth and there is no more chunks of caramel. Let it sit and cool a little bit for two minutes.
6. Dip the apples into the caramel. You may need to use a spoon to make sure the apples are evenly coated.
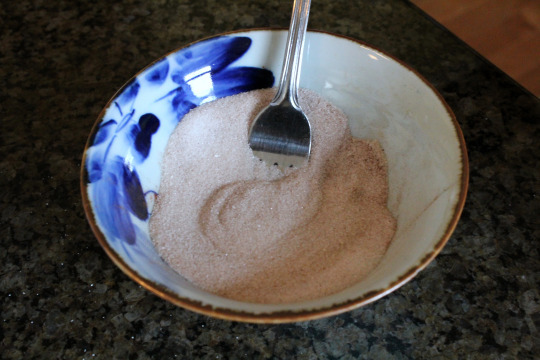
7. Mix together the cinnamon and sugar to create a classic cinnamon sugar topping.
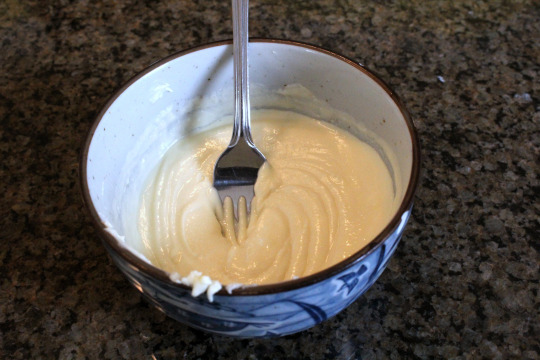
8. Melt chunks of white chocolate in the microwave for 30 second intervals. Don’t be dumb like me and burn it. That’s why my chocolate looks less than stellar.

9. I decided to dip some of the apples halfway into the white chocolate but feel free to dip the entire apple or just drizzle the chocolate over it.
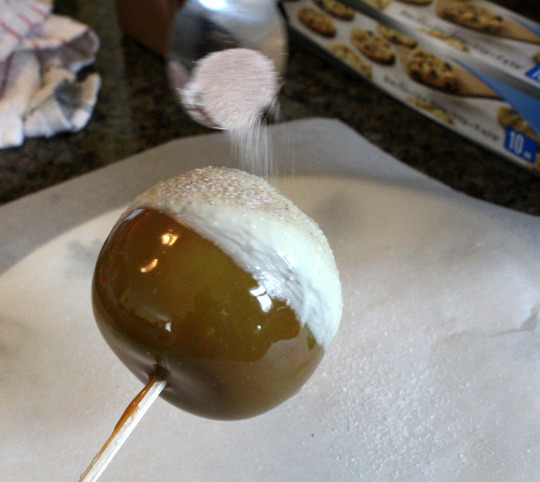
10. Sprinkle the cinnamon sugar over the apples.
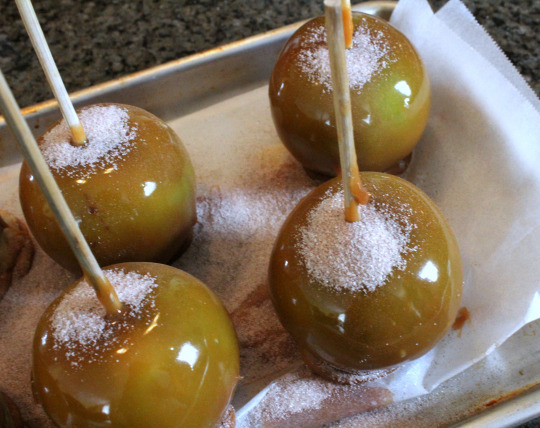
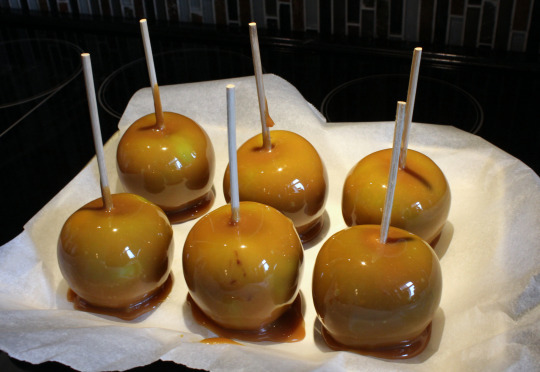
And voila! 6 delicious apples ready for eating. Well, let them set for a little while. I would recommend putting them in the fridge for a couple of hours but who can wait for that? I let mine cool for maybe 15 minutes and then I devoured them.
Are you going to try out this Make It Yourself Monday? Tweet me (@whenimolderblog) or Instagram me (@taylorlainee) pics if you do! I would love to see how yours turns out.