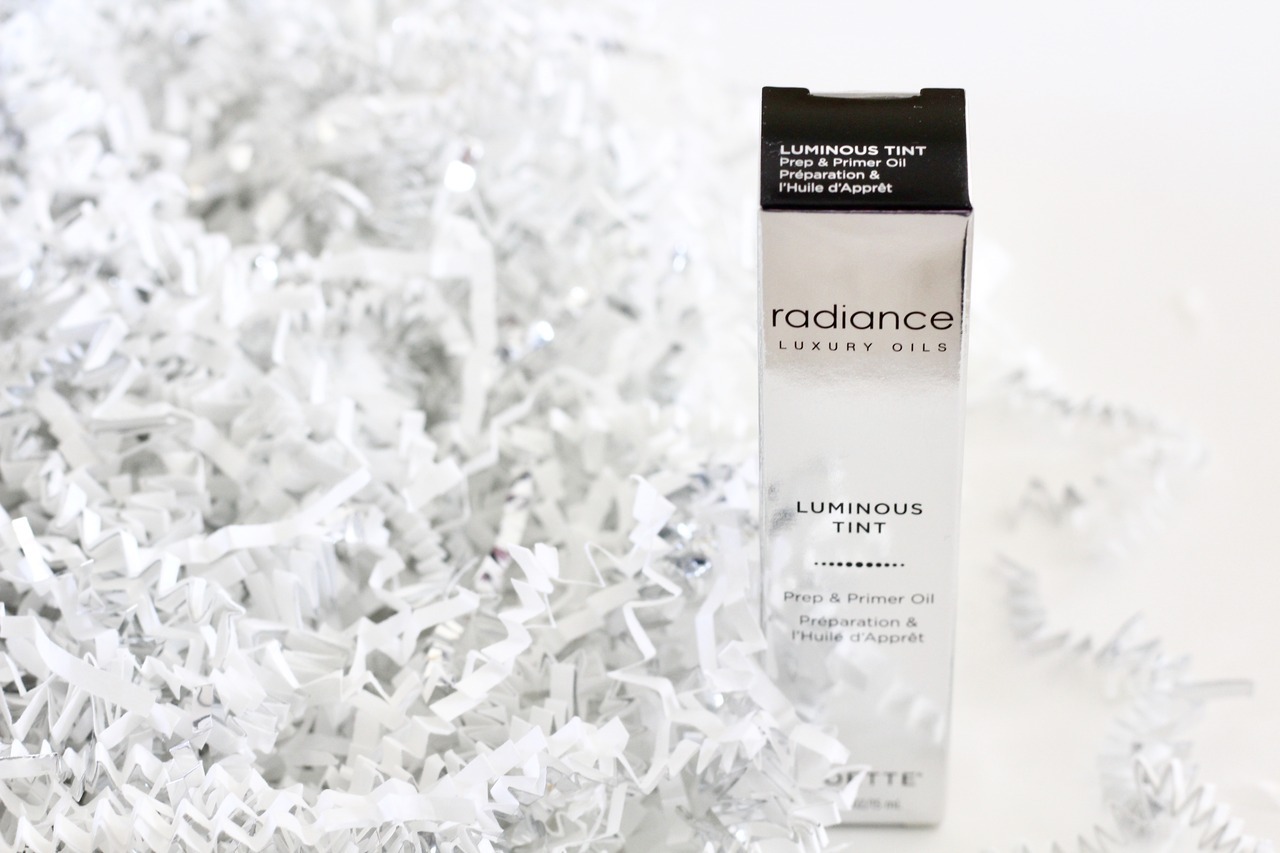
If you had of asked me what I liked my skin to look like 2 or 3 years ago, I would have replied that I wanted everything to look as matte and non-shiny as possible. I layered on mattifying powders and used lightweight gel moisturizers with anti-shine primers. But now, I couldn’t be more on the opposite end of the spectrum. Now, I want my face to look as radiant and glowy as possible. I’ve finally learned that I don’t have oily skin and it’s not doing me any favours to look matte and flat. So because of that, I’m always on the search for new luminous products that are going to give my skin that healthy glow!
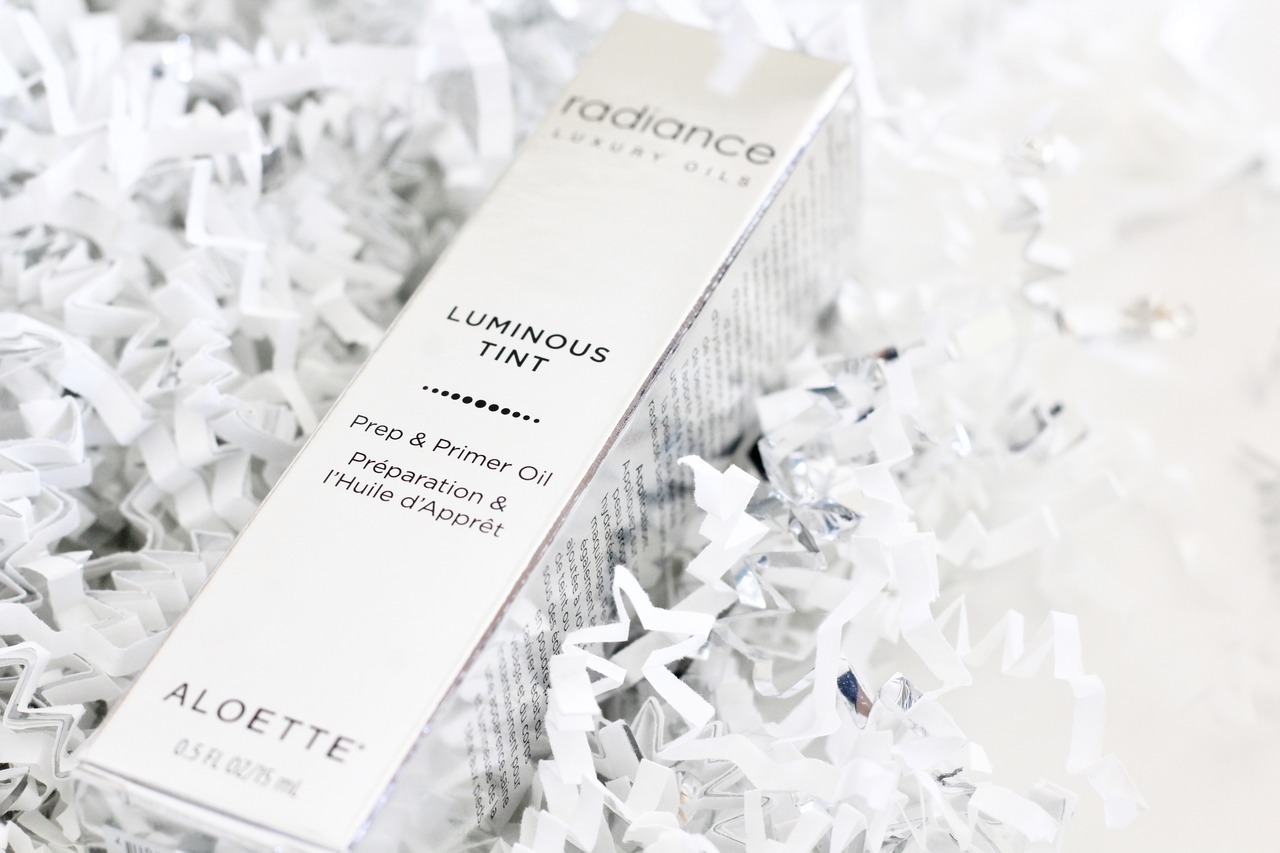
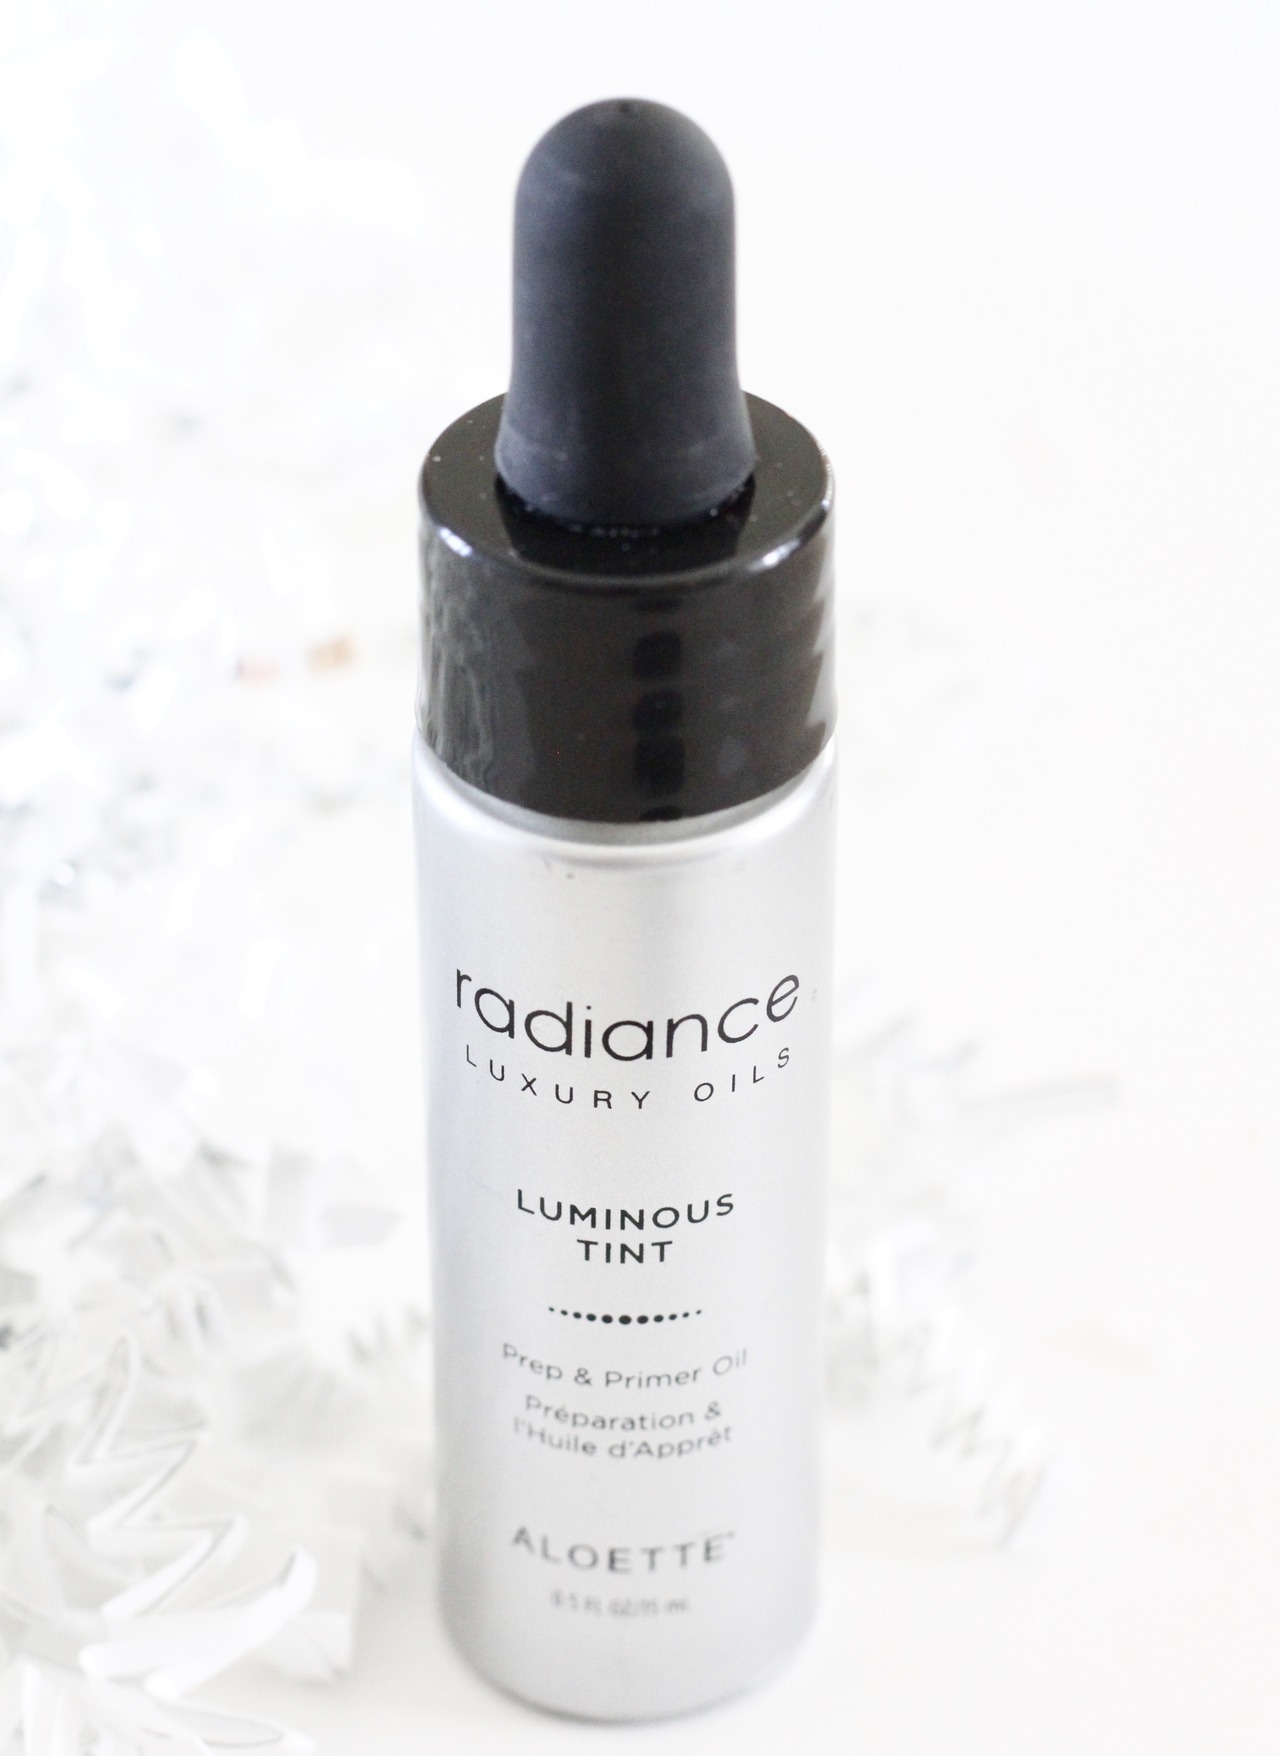
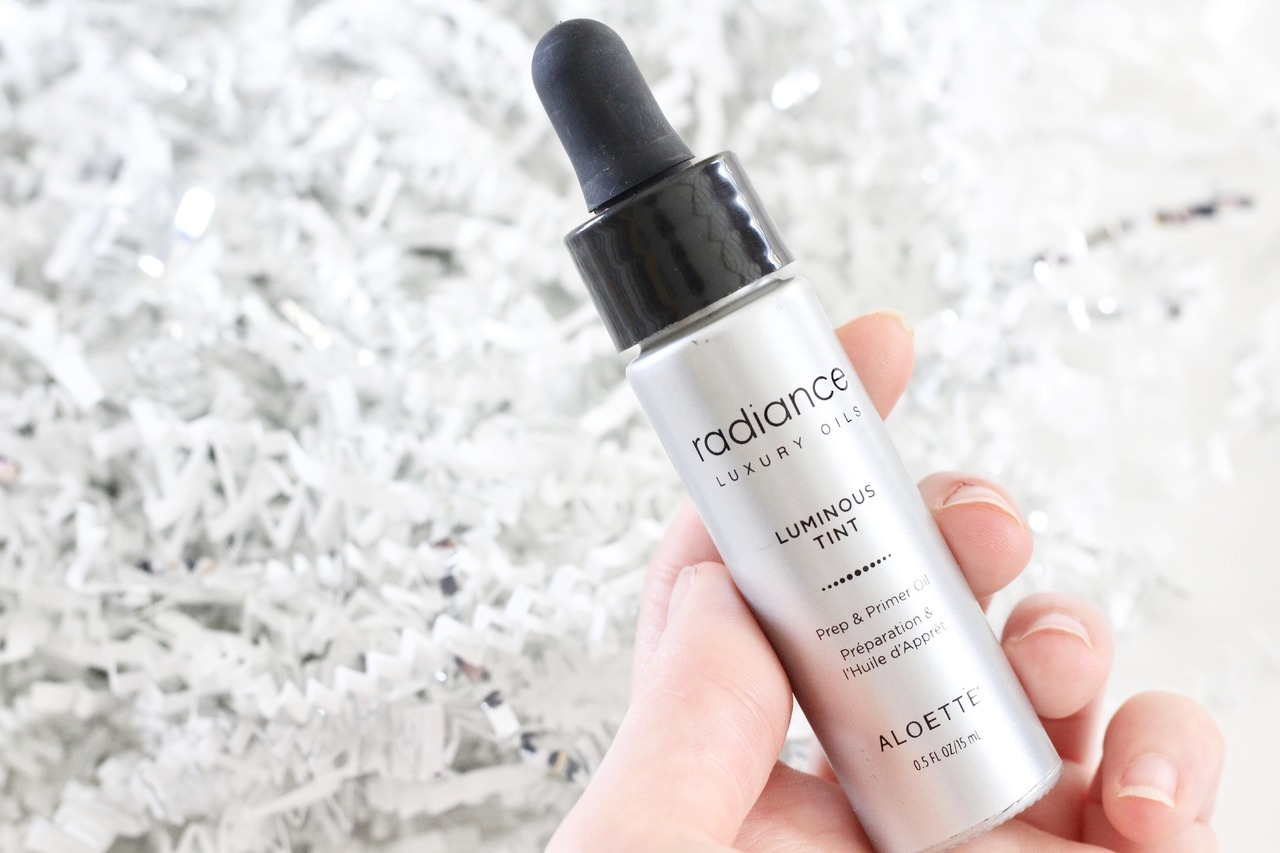
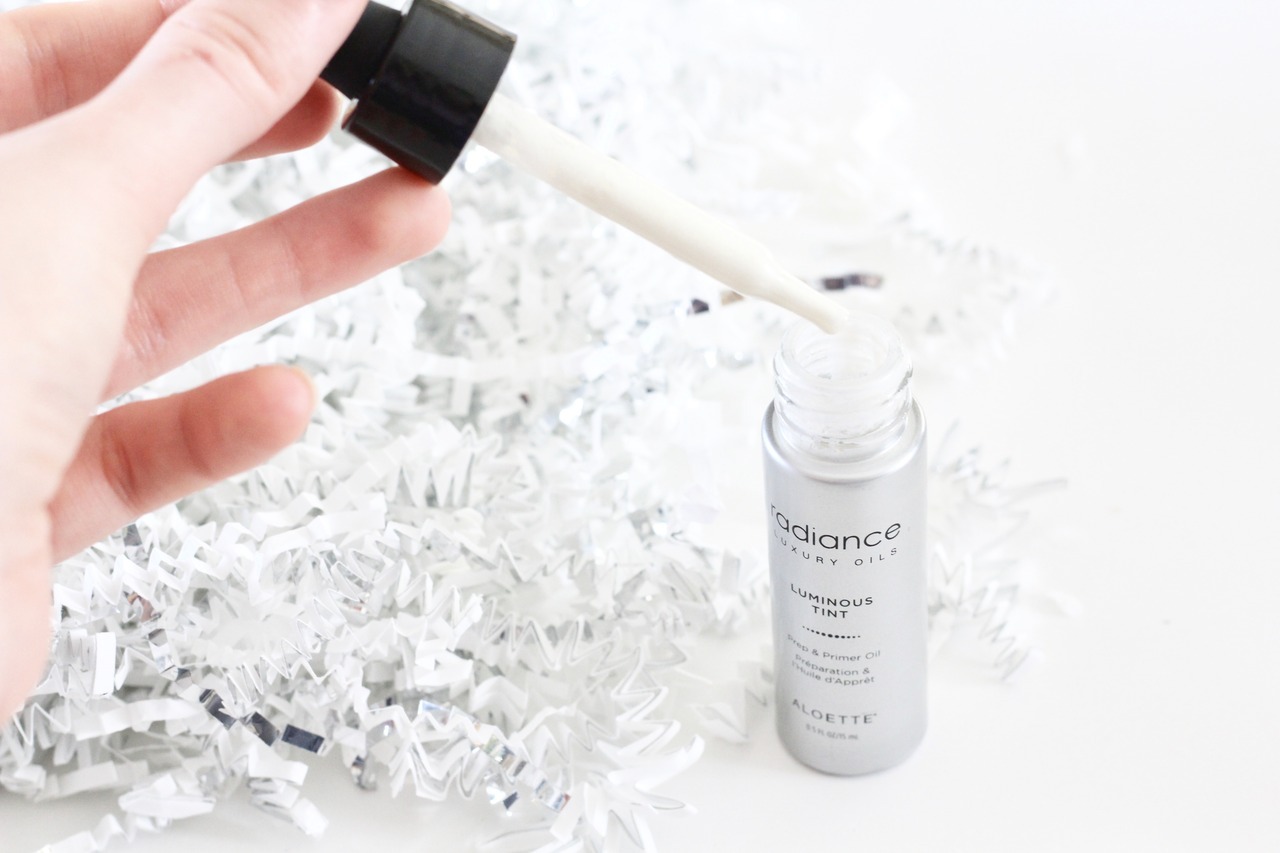
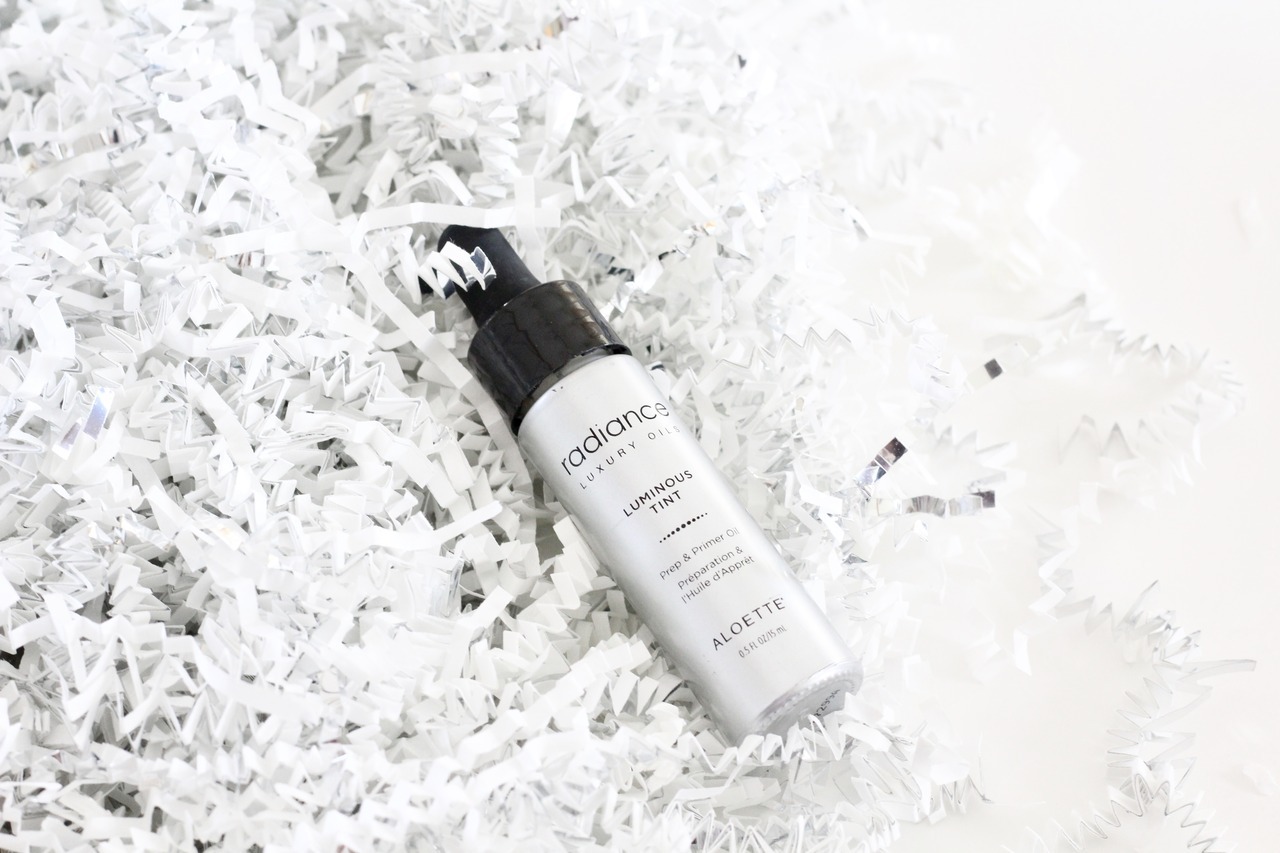
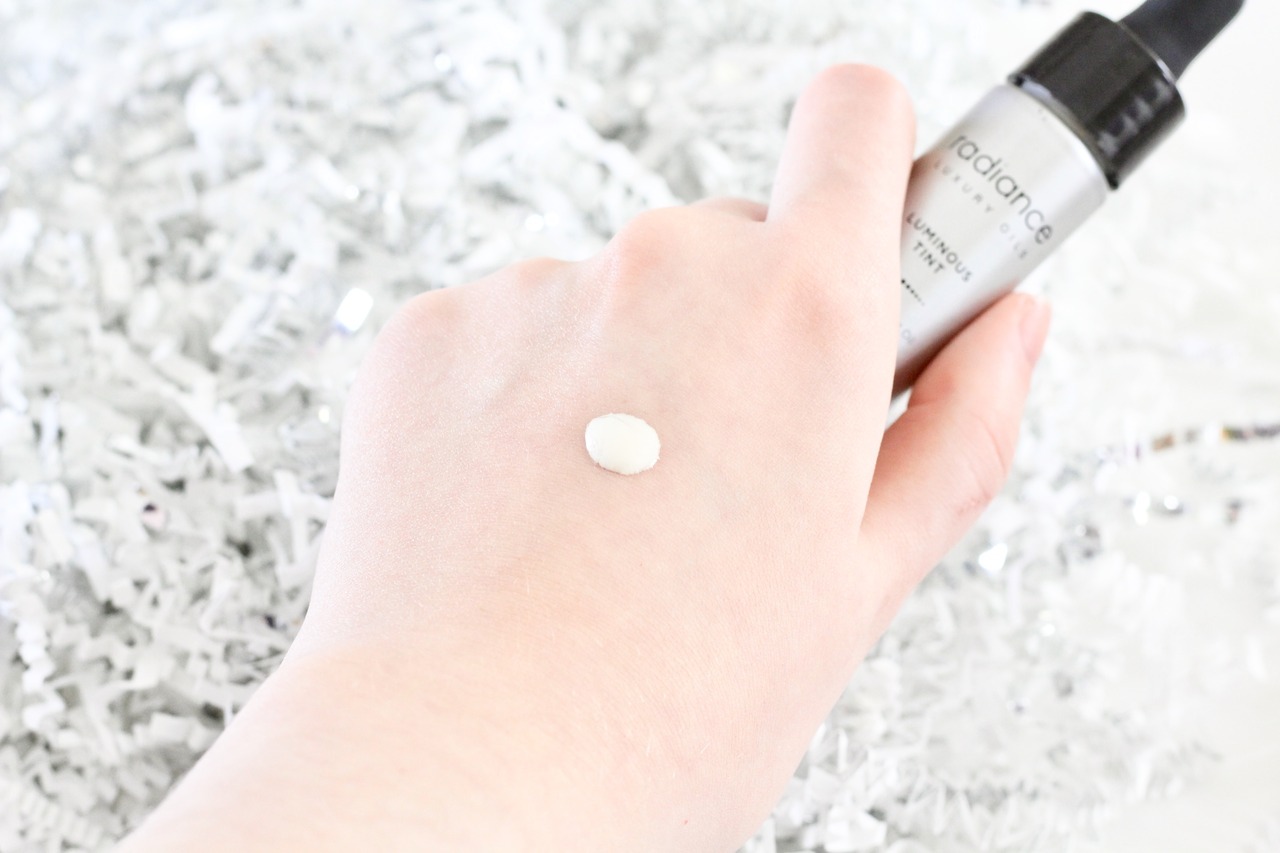
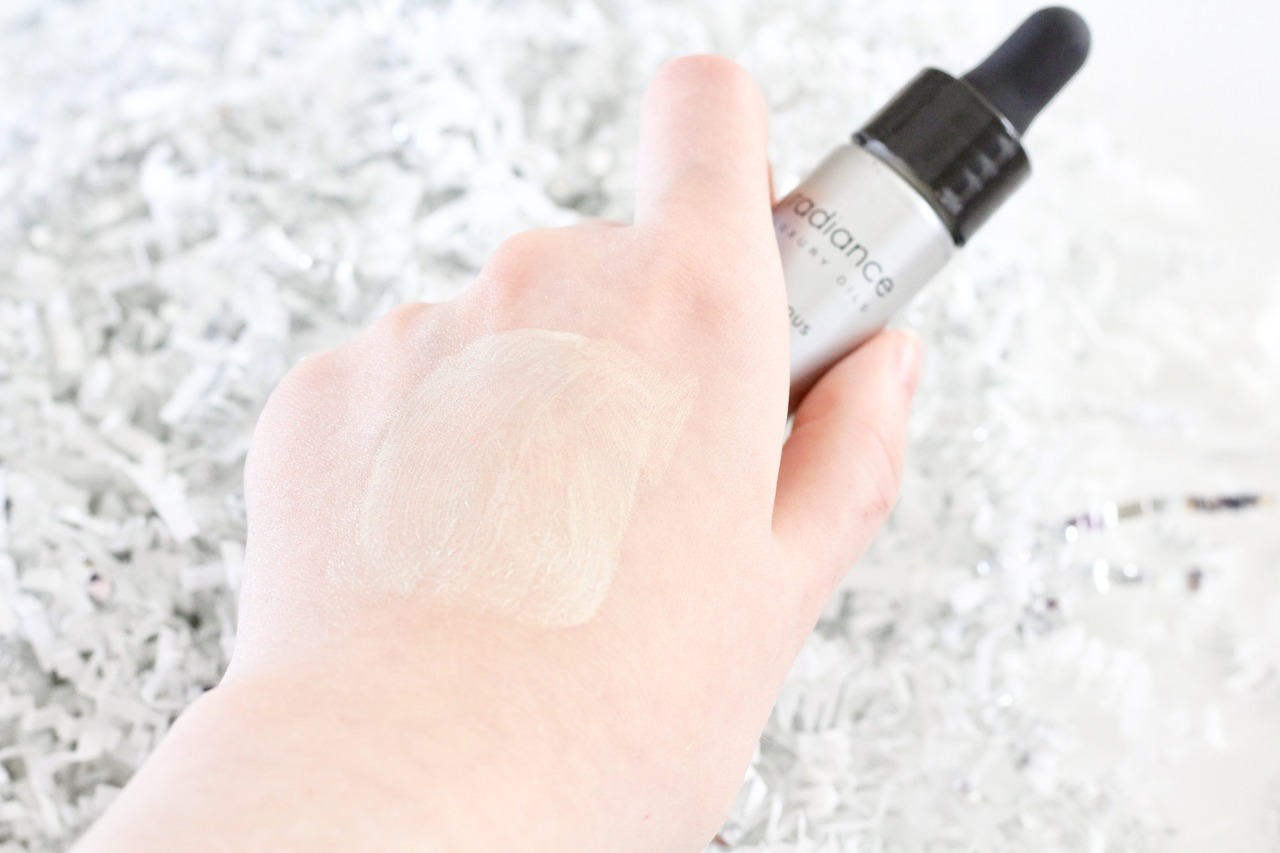
And one of those products is the new Aloette Luminous Tint Prep & Primer Oil ($49CAD/$39USD). This is something that every single person needs in their skincare or makeup routine because it’s so damn versatile. So first, let’s talk about what this product actually is and then we’ll go over all the different uses for it! This Luminous Tint is a super moisturizing primer that has ingredients like Agave, Coconut Oil and Aloe Vera. If you didn’t read my last post about Aloette, all of their products contain aloe vera which I absolutely LOVE. My skin reacts extremely well to aloe vera because it’s so hydrating and soothing on the skin! So besides being super moisturizing, this oil is also formulated with micro-pearls to blur and mask any imperfections on the skin! And even though this primer is an oil, it’s not shiny or greasy on the skin. Instead, it absorbs quickly into the skin while adding radiance and creating a nice base for your foundation!
So there’s a couple (several) different ways you can use this Prep & Primer Oil. Upon hearing the name. you might think of the logical way to use it which would be after your skincare and underneath your foundation as a base. And yes, it does work great as that! It’s super moisturizing underneath your foundation and it helps to instantly color correct and blur imperfections! But, there are a few additional ways I like to use it. You can mix it in with whichever face moisturizer you are using currently to add a bit more natural radiance to the skin. Or you can even mix it with your foundation to give a more dewey look, which I love! But my all-time favorite way is to pat it along my cheekbones and down the bridge of my nose to add a more subtle highlight rather than using a traditional highlighting powder. It looks so natural! However, if you crave that stronger highlighter, you can even layer your powder highlighter over top of this to intensify your glow!


